Summary:
What Happens Before Installation Day
Before anyone touches a piece of glass, the real work begins with measurements. Not the kind you do with a tape measure from the hardware store—the kind that account for walls that aren’t perfectly straight, floors that slope slightly, and corners that aren’t quite 90 degrees.
We measure multiple points across your shower opening. Top, middle, bottom. We check if your walls are plumb and if your shower curb is level. These aren’t just numbers on paper. They’re the difference between a door that seals perfectly and one that leaks water onto your bathroom floor every time you shower.
Once measurements are confirmed, the glass gets ordered and cut to your exact specifications. This usually takes a week or two, depending on whether you’re getting a standard door or something custom. During this time, we keep you updated on timing and confirm your installation date.

Why Accurate Measurements Matter More Than You Think
Here’s something most people don’t realize: an error as small as one-eighth of an inch can cause problems. When glass panels don’t fit precisely, you get gaps. Those gaps let water escape, which means puddles on your floor, potential water damage to walls, and mold growing in places you can’t easily reach.
Your bathroom probably isn’t perfectly square. Most aren’t. Walls settle over time. Tile work might be slightly off. The shower pan might have a subtle slope. We know how to work with these imperfections. We take multiple measurements at different heights and account for any variations.
This is where a lot of DIY installations go wrong. You measure once, order the glass, and discover too late that your shower opening is narrower at the top than at the bottom. Now you’re stuck with expensive glass that doesn’t fit, and you’re either trying to return it or paying for new panels.
The measurement phase also determines what type of door will work best in your space. Can your walls support a frameless door, or do you need the extra stability of a framed system? Is there enough clearance for a hinged door, or should you go with a sliding design? These decisions get made before installation day, based on what your actual space can accommodate.
We use laser measuring tools and digital levels to get precise readings. We photograph your space, note any obstacles like grab bars or built-in benches, and create a plan that accounts for every detail. This upfront work is what makes installation day go smoothly instead of turning into a frustrating problem-solving session.
Preparing Your Shower Space for Installation
Installation day doesn’t start with installing anything. It starts with prep work that protects your bathroom and sets up for success.
First, we check that your shower is ready. The tile work should be complete and fully cured. Grout should be set. Any painting or finishing work near the shower needs to be done. If you’re replacing an old shower door, that comes out first, along with any old caulk or hardware.
The area gets cleaned thoroughly. Dust, debris, or soap residue can interfere with how well the new door seals. We wipe down the surfaces where glass will meet tile, where tracks will be mounted, and where hinges will attach to walls.
Next comes checking for potential issues. Is your shower curb sloped correctly? It should pitch slightly inward—about one-eighth to one-quarter inch—so water drains back into the shower instead of seeping under the door. If the slope is wrong, water will find its way onto your bathroom floor no matter how well the door is installed.
Wall studs get located next. Frameless shower doors are heavy—some panels weigh more than 80 pounds. That weight needs to be anchored into solid wood framing, not just drywall or tile. We use stud finders to locate the framing, then mark exactly where hinges or mounting hardware will attach.
If your walls aren’t plumb—meaning they’re not perfectly vertical—we need to plan for adjustments. Small variations can be corrected during installation by adjusting roller assemblies or shimming mounting hardware. Larger issues might require adding support or choosing different mounting methods.
This prep phase matters because it catches problems before they become expensive mistakes. Finding out your walls can’t support a frameless door after the glass is already cut is a costly discovery. Realizing your shower curb is sloped the wrong way after installation is complete means tearing everything out and starting over. We identify and address these issues before installation begins.
The prep work also includes protecting your bathroom. Drop cloths go down to protect floors. Towels or padding protect nearby fixtures. Tools and materials get organized so everything needed is within reach. This isn’t glamorous work, but it’s what separates a professional installation from an amateur one.
How We Install Shower Doors
Now the actual installation begins. For a standard frameless shower door, expect this to take somewhere between four and six hours. More complex configurations with multiple panels or custom features can take longer. Across Long Island—from Nassau County to Suffolk County—we follow a proven process to ensure watertight, lasting results.
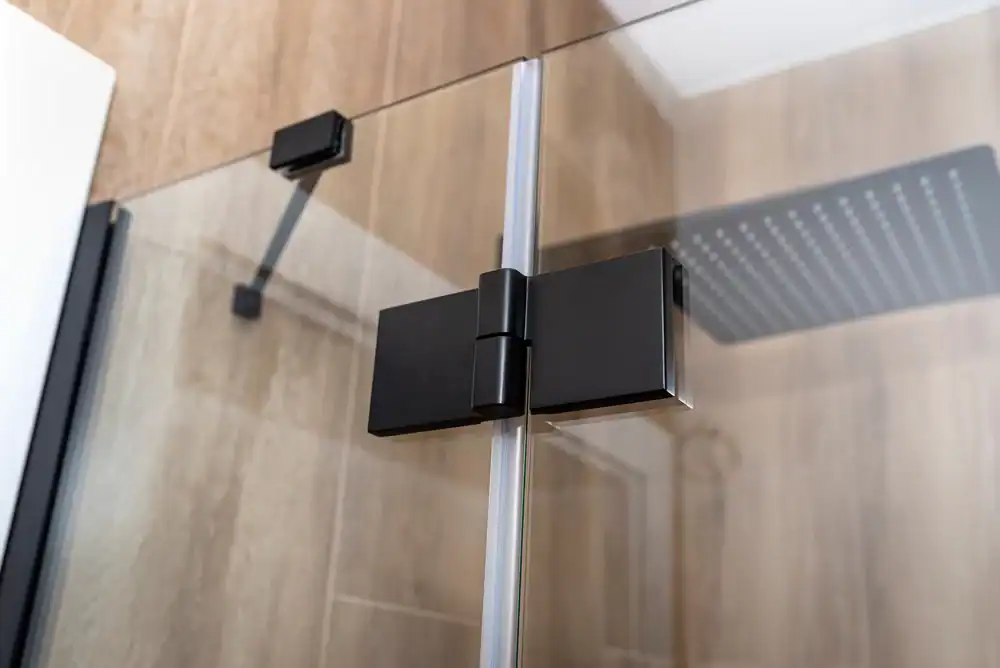
First, mounting hardware goes up. For frameless doors, this usually means hinges that attach directly to the wall and clips that secure fixed glass panels. Each piece has to be positioned precisely and checked with a level. If hinges aren’t perfectly aligned, the door won’t swing smoothly or close properly.
Drilling into tile requires special bits and careful technique. Go too fast or apply too much pressure, and you crack the tile. Use the wrong bit, and you damage the tile surface. We drill pilot holes carefully, then secure mounting hardware with appropriate anchors and screws.
Installing the Glass Panels and Door
Once mounting hardware is secure, the glass panels get installed. This part requires at least two people because the panels are heavy and awkward to maneuver. Frameless glass is typically three-eighths to half an inch thick and can weigh 60 to 100 pounds depending on size.
We lift each panel carefully, slide it into position, and secure it to the mounting hardware. Everything gets checked with a level to ensure the glass is perfectly vertical. If it’s even slightly off, the door won’t operate correctly.
For doors with hinges, we attach the hinge hardware to the glass panel before lifting it into place. The door gets positioned so the hinges align with the wall-mounted hardware, then secured. This is where precision really matters. If the door isn’t hung level, it will either swing open on its own or refuse to stay open—neither of which is what you want.
Sliding doors require installing tracks at the top and bottom, then mounting rollers to the glass panels. The rollers need to be adjusted so the door glides smoothly without binding or scraping. The door should move easily with one hand and stay in place when you let go.
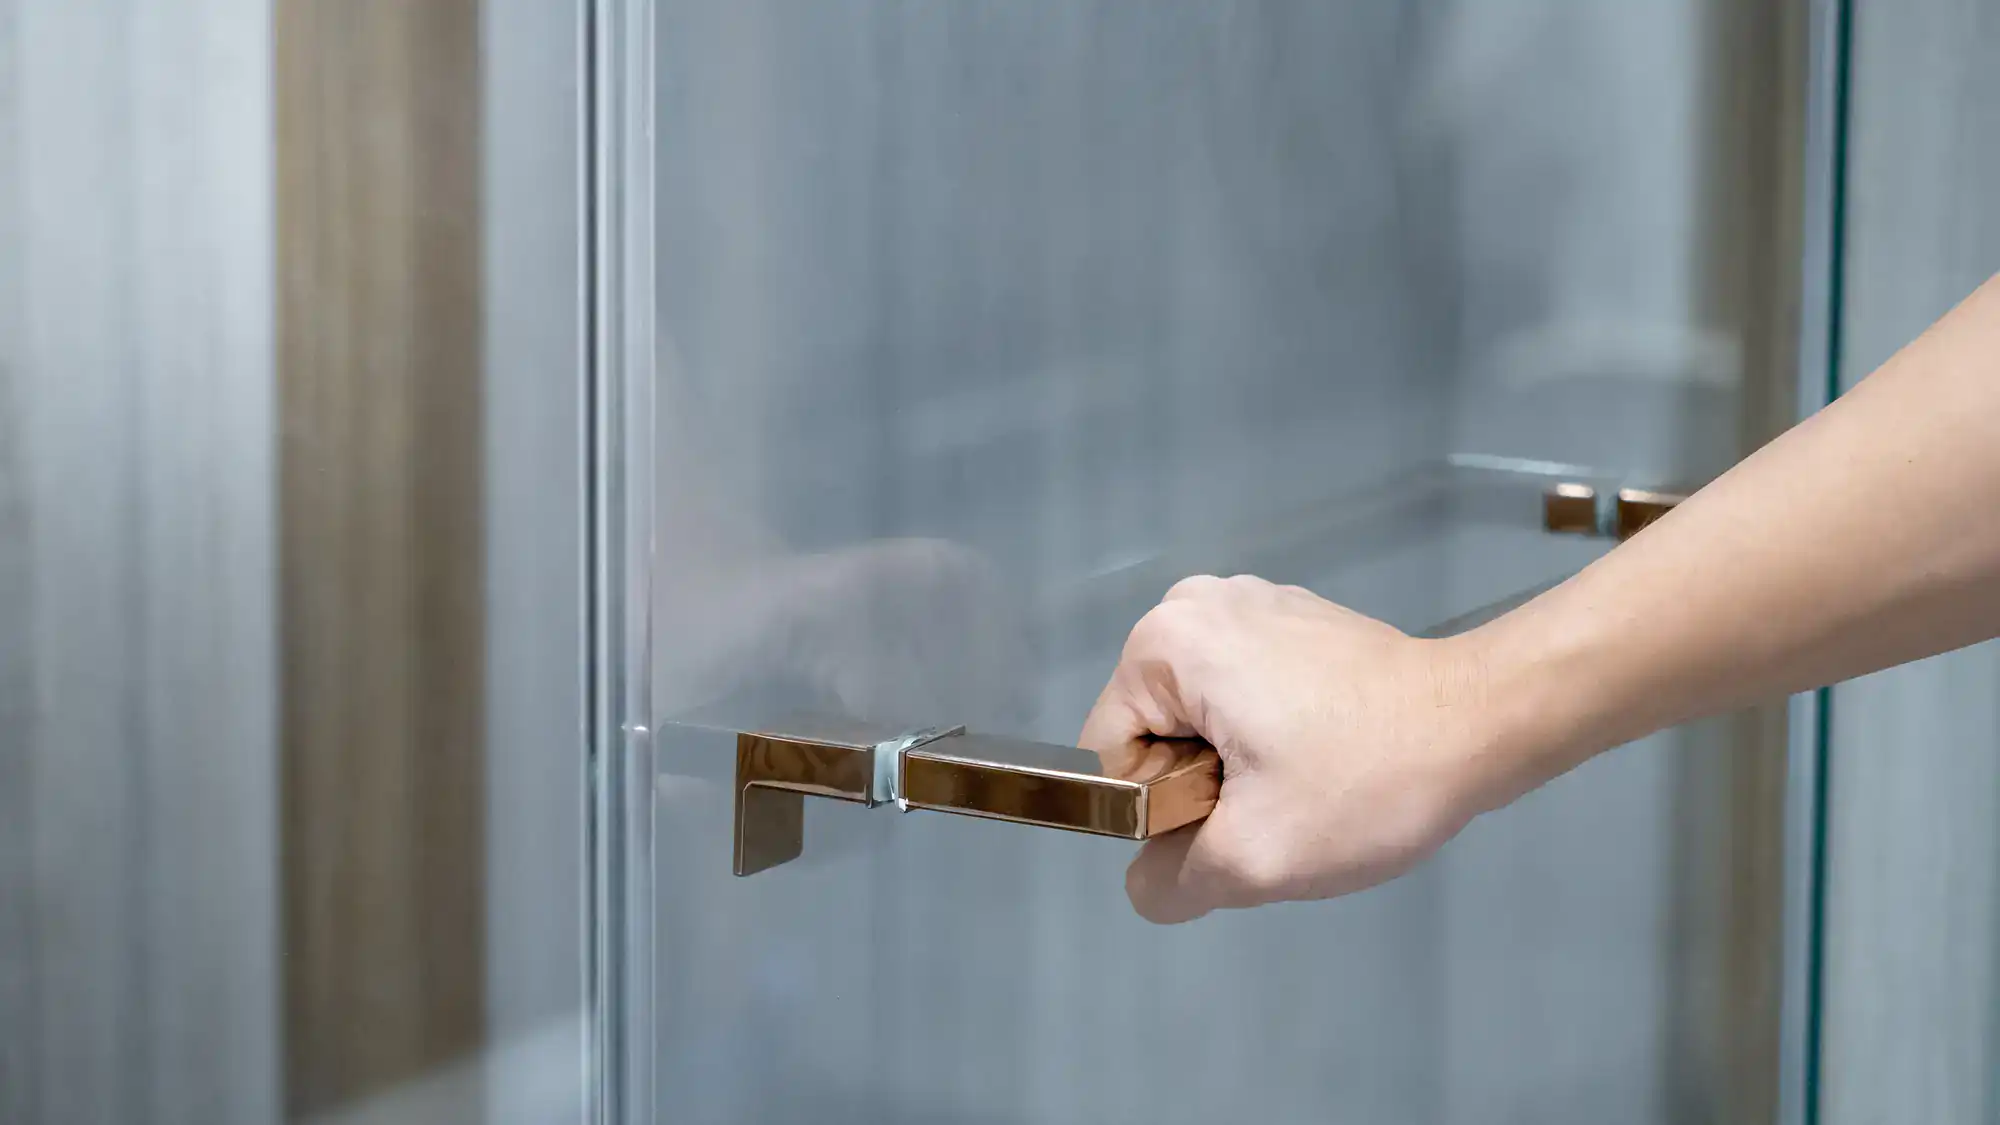
After the glass is in place, we add any additional hardware—handles, towel bars, or support braces. Everything gets tightened to manufacturer specifications. Too loose and hardware will wobble or come loose over time. Too tight and you risk cracking the glass.
Next comes testing. The door gets opened and closed multiple times to check operation. Does it swing smoothly? Does it close completely? Is there any binding or scraping? If anything doesn’t feel right, adjustments get made now, not after we leave.
The final step is sealing. Clear silicone caulk gets applied along all the joints where glass meets tile, where the door frame meets the wall, and along the bottom track. This creates a watertight seal that prevents water from escaping the shower. The caulk needs to cure for at least 24 hours before you can use the shower, so plan accordingly.
Common Installation Problems and How We Handle Them
Even with our experience, complications can arise. Understanding what might go wrong helps you appreciate why professional installation is worth the investment—especially when you’re investing anywhere from $900 to $2,000 or more for a quality custom glass shower door.
One common issue is discovering that walls aren’t plumb or the shower opening isn’t square. If the difference is more than three-eighths of an inch, standard doors might not fit properly. We need to either adjust the door configuration or recommend fixing the underlying issue before proceeding.
Another problem is insufficient wall support. If there aren’t studs where hinges need to attach, we have to use heavy-duty anchors or add blocking behind the wall. This takes extra time but it’s necessary for safety. A door that’s not properly anchored can pull away from the wall, potentially causing injury or property damage.
Damaged tile can also complicate installation. If tiles crack during drilling, they might need to be replaced before installation can continue. This isn’t common with our experience, but it’s a risk whenever you’re drilling into ceramic or porcelain.
Sometimes the shower pan or curb isn’t properly sloped. Water should drain back into the shower, not pool along the door or seep underneath it. If the slope is wrong, the door might seal properly but water will still escape because it’s flowing the wrong direction. Fixing this usually means adjusting how the door sits or, in severe cases, rebuilding the shower curb.
Glass panels can also arrive damaged or with manufacturing defects. We inspect every piece before installation. If we find chips, cracks, or other issues, we order replacement panels rather than installing damaged glass. This delays the project but prevents bigger problems down the road.
Hardware compatibility issues occasionally pop up too. Sometimes the hinges specified for a particular door don’t work with the wall configuration. Or the mounting clips don’t align with the glass panel holes. We carry backup hardware options and can usually solve these issues on-site, but it might require improvising or ordering different components.
The key difference between professional and DIY installation shows up most clearly when problems arise. We’ve seen these issues before and know how to solve them. DIYers often discover problems after it’s too late to fix them easily, leading to expensive do-overs or permanent compromises in how the door functions.
What to Expect After Your Shower Door Installation
Once installation is complete, you’ll have a functional shower door that should last for years with minimal maintenance. The silicone needs 24 hours to cure fully, so resist the temptation to test it out right away.
We’ll walk you through how to care for your new door. We’ll show you how it operates, explain any adjustment mechanisms, and give you tips for keeping the glass clean and clear. We’ll also provide warranty information so you have peace of mind about your investment.
The installation process might seem complex, but that’s exactly why it matters who does it. Precision measurements, proper mounting techniques, and attention to detail separate installations that last from ones that leak, bind, or fail prematurely. When you hire experienced professionals, you’re not just paying for the door—you’re paying for the expertise that ensures it works correctly from day one. If you’re ready to upgrade your bathroom with a professionally installed shower door, we bring over 20 years of experience serving Nassau County, Suffolk County, and Long Island with the precision and care your project deserves.