Summary:
How Custom Glass Shower Doors Are Measured
Before anything else happens, your shower needs to be measured. Not by you with a tape measure and a hope. By a professional who knows what they’re looking at.
Accurate measurements are the difference between a door that fits perfectly and one that leaks, won’t close properly, or leaves gaps you’ll be caulking for years. We won’t even give you a final quote until we’ve seen your space in person, because bathrooms are rarely perfectly square or level.
Here’s what matters during that measurement appointment. We check your walls for plumb—meaning they’re actually straight up and down, not leaning. We measure the width of your shower opening at the top, middle, and bottom, because those three numbers are rarely identical. We note the height from your shower base to where the door will end. And we look at your curb or threshold to make sure it has the right slope so water drains back into the shower instead of out onto your floor.
Why Your Shower Walls Need to Be Finished First
This one trips people up all the time. You cannot measure for a custom glass shower door until your walls are completely finished. That means your tile, acrylic panels, or whatever surface you’re using needs to be installed, grouted, and sealed before we show up with a measuring tape.
Why does this matter so much? Because the thickness of your tile, the grout lines, and even the way your installer set the tile can change your dimensions by a quarter inch or more. That might not sound like much, but when you’re dealing with heavy glass panels that need to fit precisely, a quarter inch is the difference between a clean installation and a problem you’ll notice every single day.
Once your walls are done, the measurement appointment usually takes 30 to 45 minutes. We’ll ask questions about how you use your shower, where your showerhead is positioned, and whether you have any specific concerns about water containment. We’re looking at your space with an eye toward what will actually work, not just what looks good in a showroom.
After measurements are taken, your glass panels are custom-cut to fit your exact dimensions. This fabrication process typically takes anywhere from a few days to two weeks, depending on the complexity of your design and our current workload. Custom work takes time, and that’s not a bad thing. It means you’re getting something built specifically for your bathroom, not a one-size-fits-most solution that leaves you dealing with gaps and workarounds.
What Happens If Your Walls Aren't Level or Plumb
Most walls aren’t perfect. Older homes especially can have walls that lean, floors that slope, or corners that aren’t quite 90 degrees. This is normal, and we know how to work with it.
During the measurement process, we’ll use a level to check how far off things are. If your walls are out of plumb by a small amount—say, a quarter inch over the height of the door—that can usually be accommodated with adjustable hardware or by customizing the glass cut. If the issue is more significant, we might recommend shimming the door, adjusting the installation points, or in some cases, addressing the wall itself before the glass goes in.
This is why working with an experienced local company matters. We’ve installed hundreds of shower doors in Long Island homes and have seen every quirk old houses can throw at us. We know how to adapt without compromising the integrity of the installation.
The other thing that gets checked during measurement is your shower curb or threshold. This is the raised edge at the bottom of your shower that keeps water from flowing out. For a glass door to work properly, that curb needs to have a slight inward slope—usually about an eighth to a quarter inch. If it’s level or, worse, sloping outward toward your bathroom floor, you’re going to have water issues no matter how well the door is installed.
If your curb slope is wrong, we can often add a threshold or water dam as part of the installation. It’s a small fix that prevents a big headache, and it’s something you want addressed before the glass goes in, not after you’ve already spent weeks mopping up puddles.
Choosing Between Frameless, Semi-Frameless, and Framed Shower Doors
Once you know your space can accommodate a custom door, the next decision is what type of door you actually want. The three main categories are frameless, semi-frameless, and framed. Each has trade-offs in cost, appearance, and maintenance.
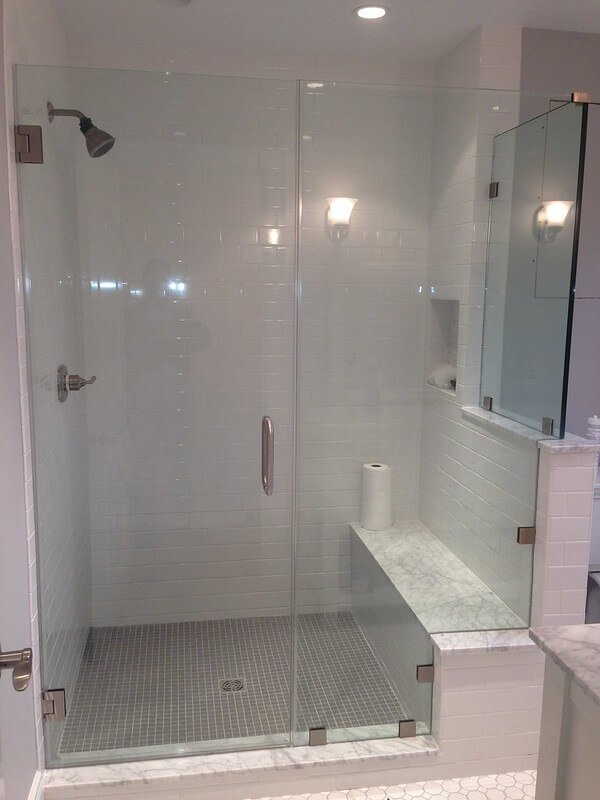
Frameless doors are what most people picture when they think of a modern, high-end shower. They use thick tempered glass—usually 3/8 inch or 1/2 inch—with minimal hardware. There’s no metal framing around the glass panels, just clips or hinges that attach directly to the wall and glass. The look is clean, open, and shows off your tile work.
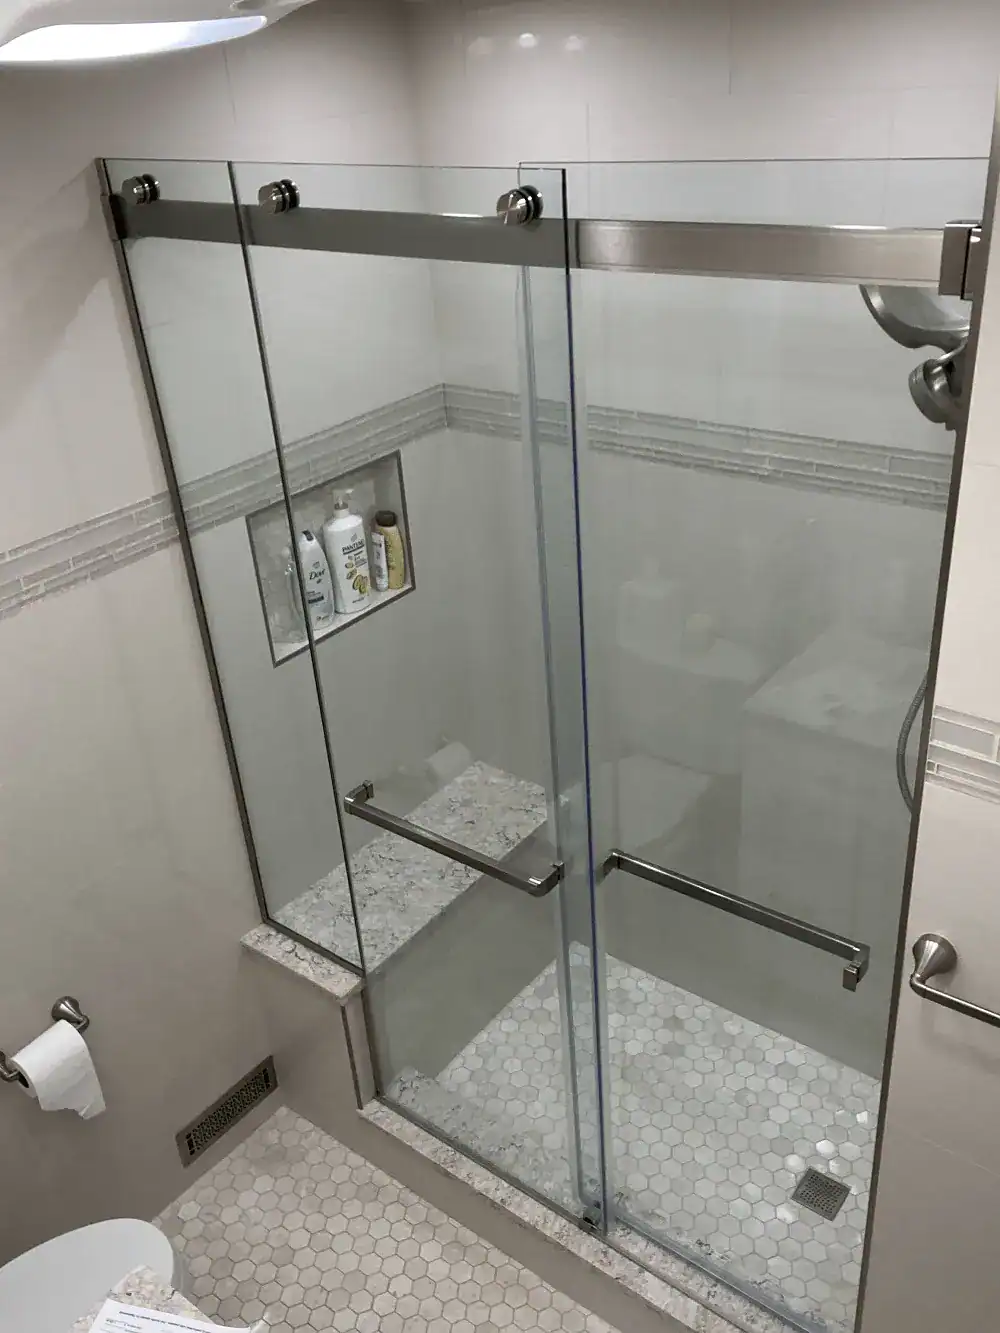
Semi-frameless doors have framing around the perimeter but leave the glass panels themselves unframed. They use slightly thinner glass than fully frameless options and tend to fall in the middle of the price range. They offer some of the sleek look of frameless without the higher cost.
Framed doors have metal framing around all the glass panels and edges. They’re the most affordable option and also the most durable in terms of structural support. The trade-off is that the framing creates more places for water, soap scum, and mildew to collect, which means more maintenance over time.
What Type of Glass Should You Choose for Your Shower Door
All shower door glass is tempered for safety. That means if it ever breaks, it shatters into small, relatively harmless pieces instead of dangerous shards. But beyond that baseline safety standard, you have options.
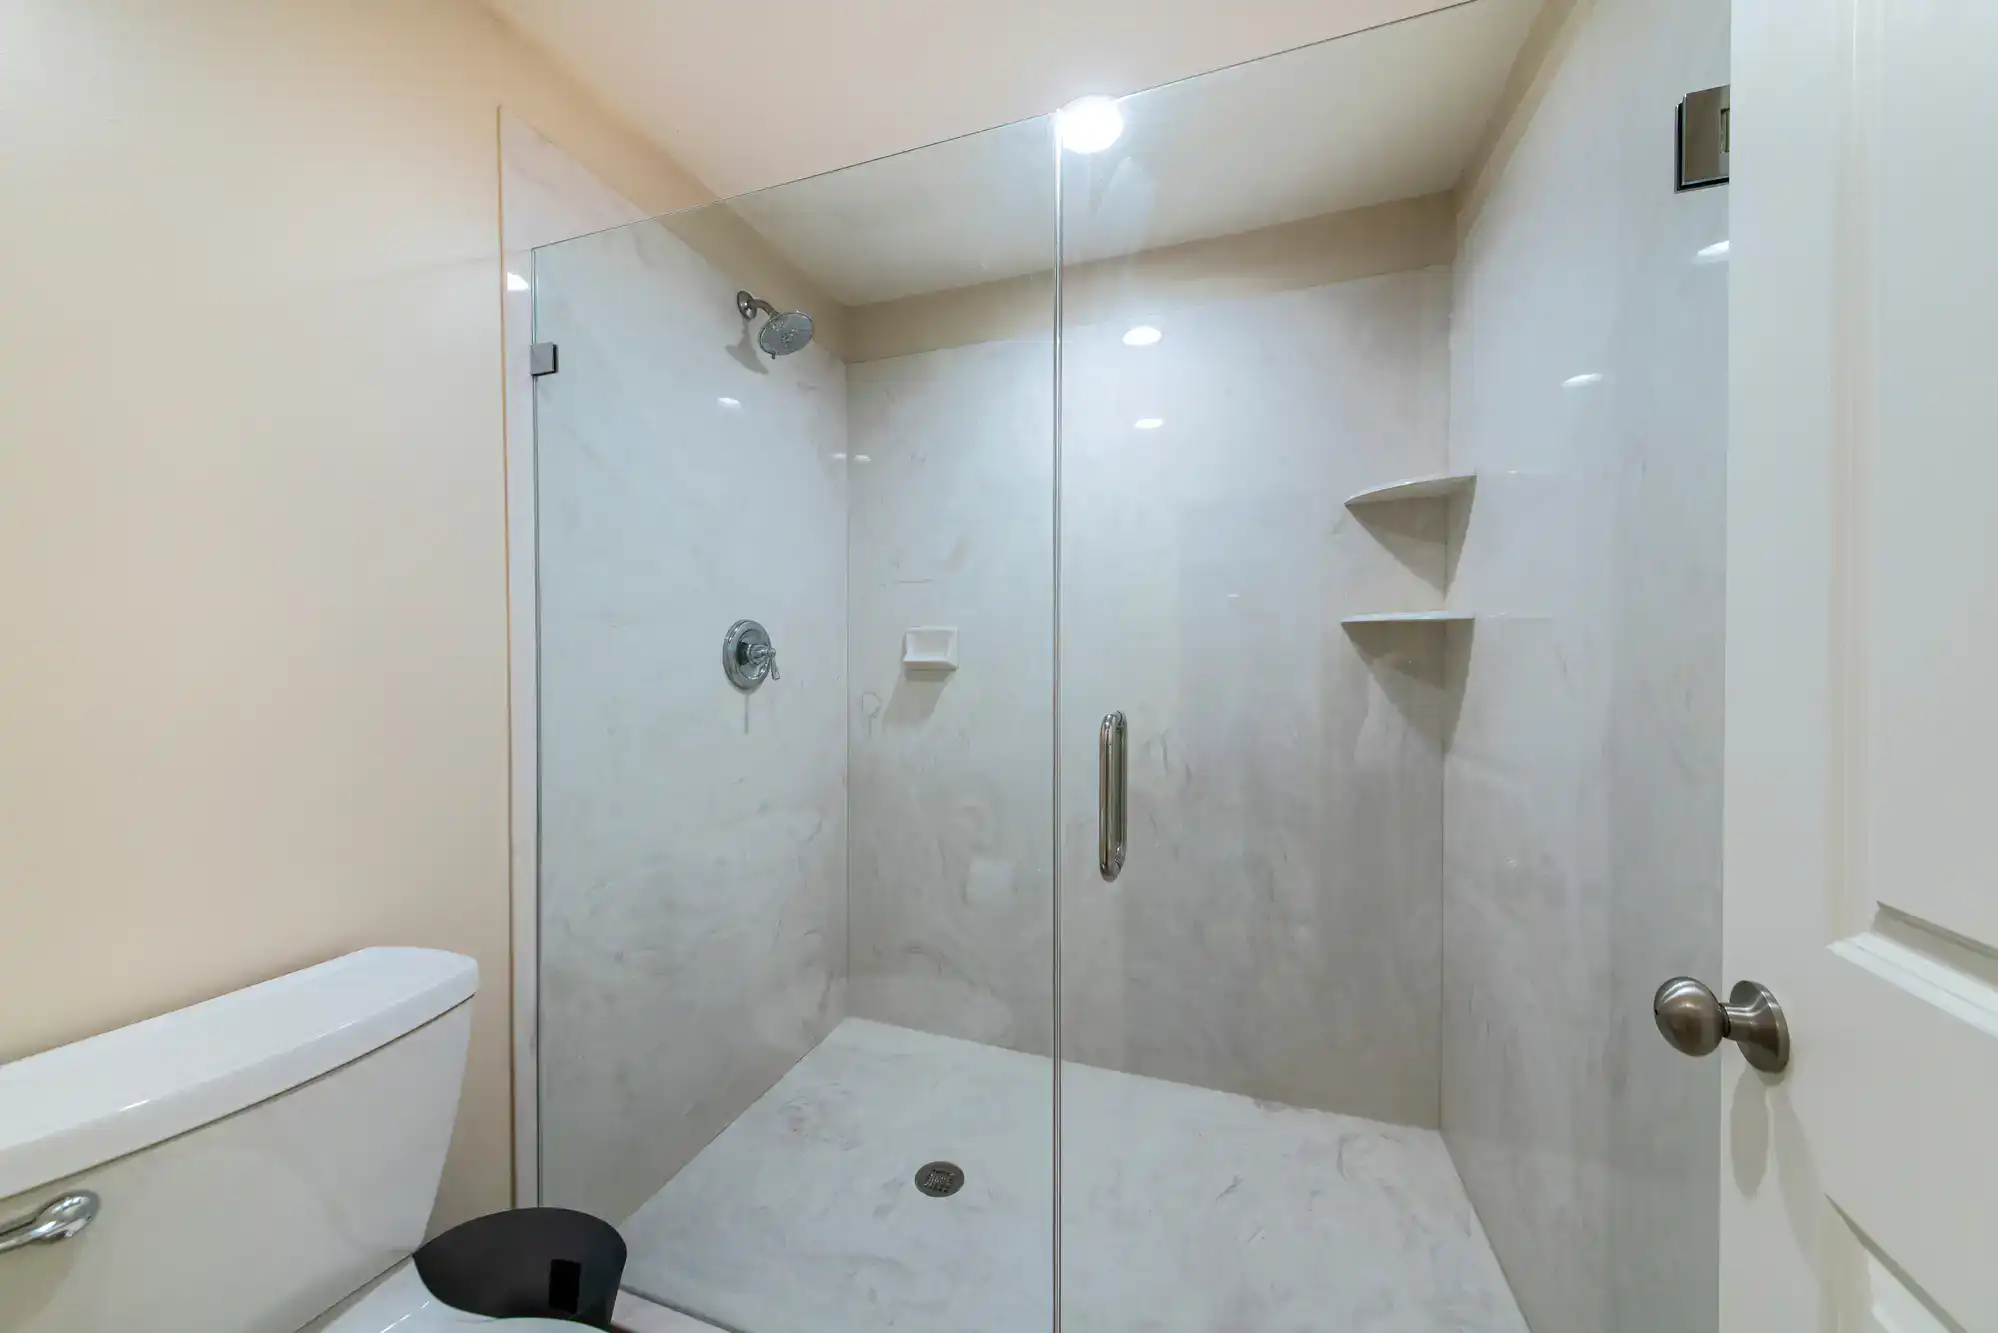
The most common choice is clear glass. It’s standard, affordable, and works in any bathroom style. The thing most people don’t realize is that regular clear glass has a slight green tint, especially when you’re looking at thicker panels. It’s subtle, but it’s there.
Low-iron glass, sometimes called Starphire or ultra-clear glass, removes that green tint. It’s more expensive, but it gives you a truly clear, crisp look that makes your tile and fixtures stand out. If you’ve invested in beautiful tile work or you’re going for a bright, airy bathroom, low-iron glass makes a noticeable difference. According to industry data, over 95% of customers who see the two options side by side choose low-iron despite the higher price.
Frosted or patterned glass is another option if privacy is a concern. It obscures the view into your shower while still letting light through. Some homeowners think frosted glass will hide water spots and soap scum better than clear glass, but that’s not really true. Textured glass can actually be harder to clean because the surface isn’t smooth.
Then there’s the question of glass coatings. Some manufacturers offer a protective coating that’s applied during fabrication to make the glass more resistant to water spots and soap scum. It works similarly to a rain-repellent treatment on your car windshield—water beads up and rolls off instead of sitting on the surface and leaving mineral deposits. The coating adds to the upfront cost, usually a few hundred dollars, but it can reduce your cleaning time significantly if you have hard water.
Hardware Finishes and How They Impact Your Shower's Look
The hardware on your shower door—hinges, handles, clips, and any support bars—might seem like a small detail, but it has a big impact on the overall look. And unlike paint, you can’t easily change it later if you don’t like it.
Chrome and brushed nickel are the most common finishes. They’re affordable, widely available, and work with most bathroom styles. Chrome is shiny and reflective, while brushed nickel has a softer, matte appearance that hides fingerprints and water spots better.
Matte black hardware has become extremely popular in the last few years, especially in modern and industrial-style bathrooms. It creates a strong visual contrast against light tile and gives the space a more contemporary edge. The downside is that matte black shows water spots and soap residue more than other finishes, so it requires more frequent wiping down if you want it to look clean.
Oil-rubbed bronze and brushed brass are other options that work well in traditional or transitional bathrooms. They add warmth and pair nicely with wood tones and earth-colored tile. These finishes tend to cost more than chrome or brushed nickel, and they’re not as widely stocked, which can add time to your project if they need to be special-ordered.
When you’re choosing hardware, think about the other fixtures in your bathroom. Your faucet, towel bars, and light fixtures don’t all have to match perfectly, but they should coordinate. If everything else in your bathroom is brushed nickel and you install a shower door with matte black hardware, it’s going to stand out—and not necessarily in a good way.
The other thing to consider is the quality of the hardware itself. Cheap hinges and clips can fail over time, leading to doors that don’t close properly or hardware that loosens and needs constant tightening. This is one area where paying a bit more upfront for solid, well-made components saves you frustration down the road.
What to Expect During Custom Shower Door Installation
Once your glass is fabricated and ready, installation day arrives. For most standard custom shower doors, the actual installation takes between one and four hours, depending on the complexity of the design. We’ll bring the glass panels, hardware, and all the tools needed to get everything in place.
The process involves carefully positioning the glass, attaching the hinges or clips to your walls, making sure everything is level and aligned, and sealing any gaps with clear silicone. We work methodically and double-check our measurements as we go, taking our time getting the alignment right rather than rushing through it.
After installation, the silicone needs time to cure—usually 24 hours—before you can use your shower. This waiting period is important. If you use the shower too soon, you risk compromising the seal and creating potential leak points.
The difference between a shower door that works beautifully for years and one that becomes a constant source of frustration often comes down to the quality of the installation. That’s why choosing a company with experience, proper certifications, and a track record of quality work matters more than finding the lowest price.
If you’re in Nassau County or Suffolk County and you’re ready to move forward with custom glass shower doors, we bring over 20 years of local experience, transparent pricing, and the kind of attention to detail that turns a bathroom upgrade into an investment you’ll appreciate every day.